How i found Drobo
When I first started my business as a photographer, I was working from a macbook pro and two G Drives as my main storage. With one G Drive a copy of the other I would manually check that what was on drive one got copied to drive two. Not exactly a technologically advanced way for doing things and it allowed many an opportunity for human error to screw everything up. Shooting Nikon D700 cameras with just 12 megapixels the 2TB drives were bottomless pits and I didn’t even scratch the surface of their storage capacity. As time went on I was shooting more and with my media collection also now on the drives, I was going to need to sort out my messy file storage system before ended up with a plethora of hard drives and cables galore.
I discovered drobo through YouTube vlogger Jared Polin and quickly started scouring the net for reviews and what products there were in the market. I quickly ran into a wall of negative feedback, but not for their current line of products. The older and original drobos were known to fail and cause issues but the new USB 3 4bay model looked promising.
Now I’m going to be straight here, one Drobo is not the answer to all of your data backup needs, but it’s a great place to start in securing yourself against a drive failure and data loss.
So what the heck is a drobo.
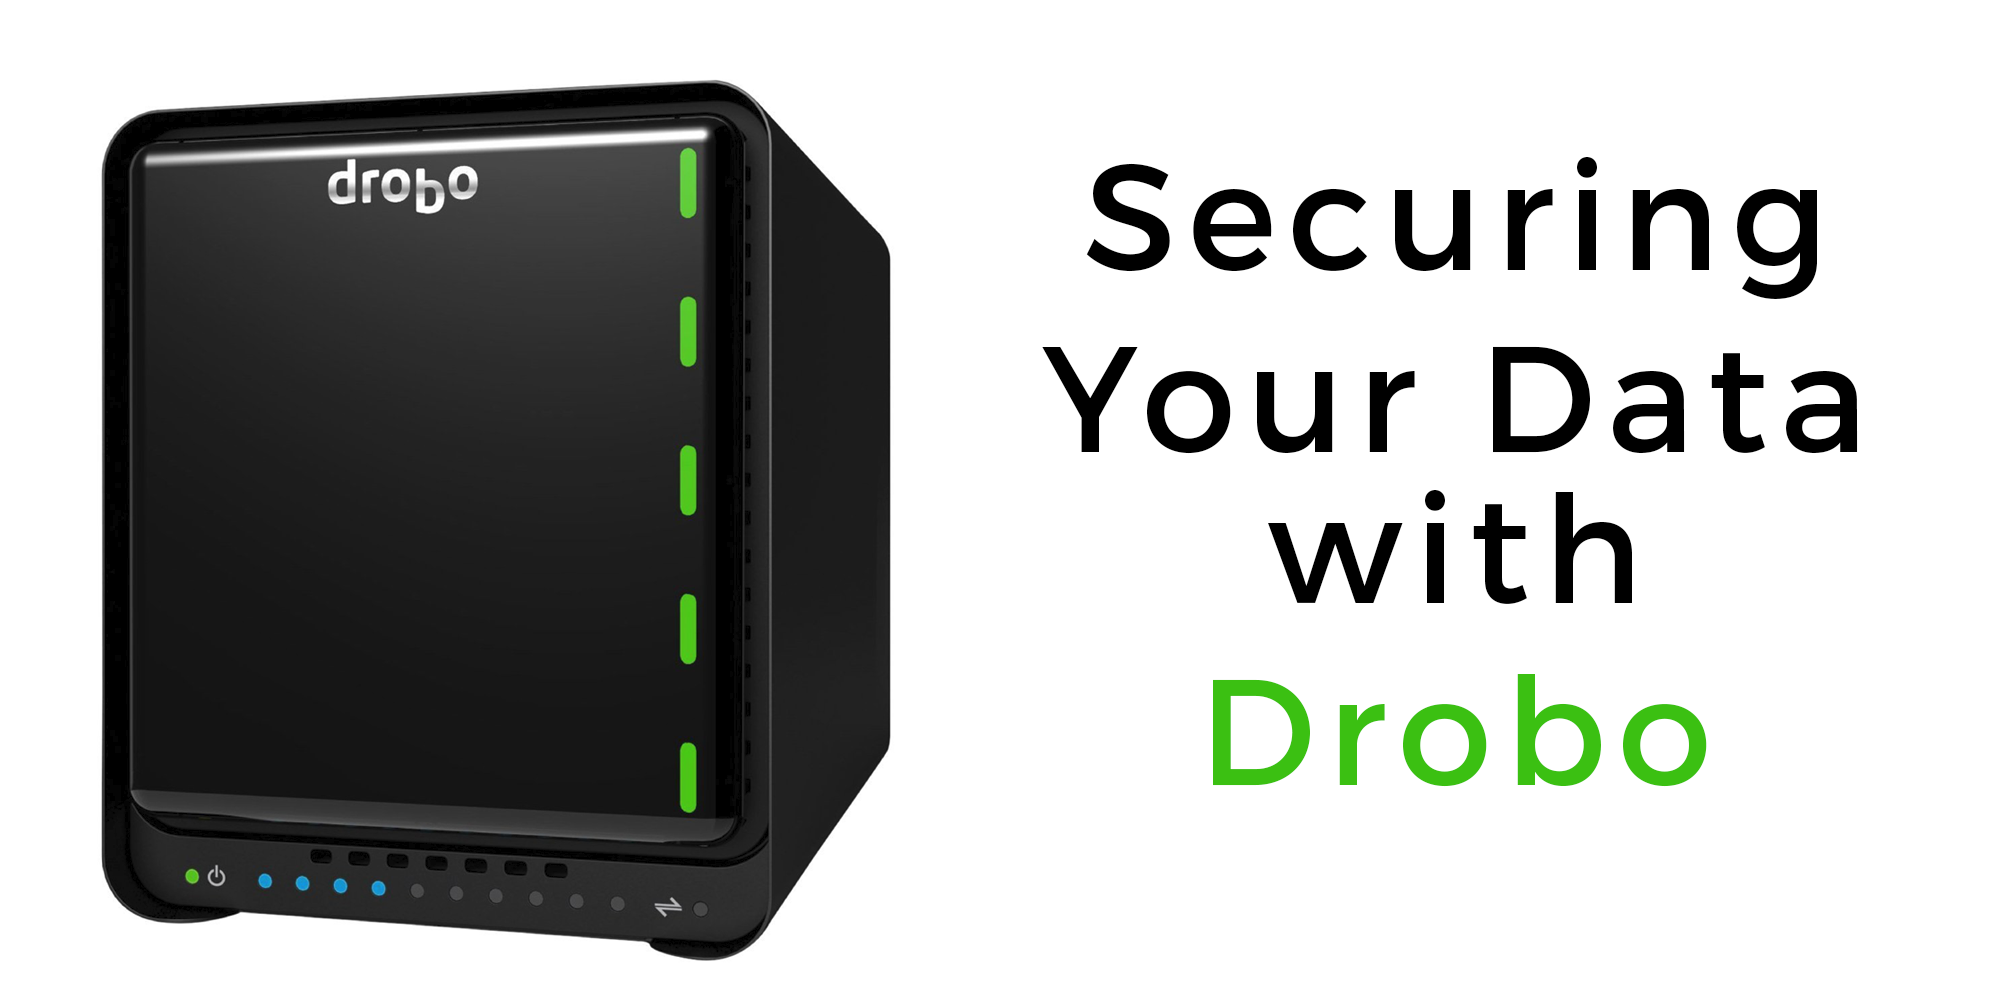
A drobo is an enclosure for hard drives. The newest models start with a five drive capacity, and when you plug it into to your computer, it shows as one large hard drive. The software that manages the drobo spreads the data across all of the hard drives inside, which in turn protects against hard drive failures. It’s also a stupidly easy system to upgrade with more hard drive space, or to replace failed hard drives. Its pretty much a yank out one drive and replace it with another and leave the drobo do the rest.
When I bought my first drobo I added three 3TB WD Red Hard drives. This gave me 6Tb (or there about) of usable space, and 3TB reserved for data security while set up to protect against one drive failing. The beauty of the drobo is you can pretty much use any capacity of drive you want, but before you do, check out the drobo calculator which tells you how much space is used and how much is reserved for security and expansion at a later date. Setting up your new Drobo is a breeze, and maintaining it is even easier. When you run out of space, all you have to do is pull off the from magnetic cover and stick new one in. The Drobo system then starts reshuffling your data around to spread it over all of the drives, all while still protecting you against a drive failure. Thee lights not he drobo flash orange until the process is complete and the overall performance of the drobo takes a dip while it moves round those huge amounts of data.
What happens when it goes tits ups and a drive fails?
When a drive goes bad, you get a pretty obvious red blinky light on the front panel, and also a warning message from the Drobo dashboard. You have two options, yank out the drive and leave it re-configure should you have enough space not he remaining drives or if you have a spare drive, insert it in the failed drives place. With services like amazon’s next day delivery, restoring your Drobo to all nice green lights is a 24hr job and theres no delving into settings and menus to re-configure it, it does it all itself.
Which one should i buy?
Theres a big selection of Drobo’s on the website, and which one you get depends on your personal needs. There’s two types.
- DAS or Direct Attached Storage. These are ones which connect via USB or Thunderbolt and show up like any other hard drive would on your desktop.
- NAS or Network Attached Storage. These connect to your computer via your network/router via an ethernet cable.
Which one you buy depends on how you would like to use your Drobo, but heres a few things that may sway your decision.
In its most basic and simple setup, a NAS Drobo such as the Drobo 5N connects to your router using an ethernet cable, with in itself is only capable of 100 MB per second data transfer speed, so its no speed demon. What it does enable though is multiple computers to access the Drobo over your home/business network and share itself. It also comes equipped with apps which allow come pretty cool features such as remote access and Drobo duplication over the internet to another Drobo.
For photographers, two big drawbacks of a NAS Drobo are that you can’t run a catalogue from it in Lightroom, and you can’t back it up to Backblaze which is something we massively recommend for a could backup solution.
A DAS Drobo on the other hand depending on which model you choose is capable of massive data transfer speeds, can run a lightroom catalogue from it, and can be backed up to Backblaze cloud all for $5 a month. it can also be shared over your network but it requires a little more setting up and for the connected computer to always be on.
For a Drobo that is going to be used to work from, run Lightroom catalogues and constantly transfer data, get the Drobo 5Dt with the SSD upgrade. If you don’t need the huge speed of the 5Dt get the Drobo 5C like i did. If you want a network Drobo with loads of apps and shared across your network, get a Synology, seriously.
Share this story
COMMENTS Expand -
ADD A COMMENT


